Starlink Mounts NZ: The High Wind Zone Guide
Updated July 2026
The short version
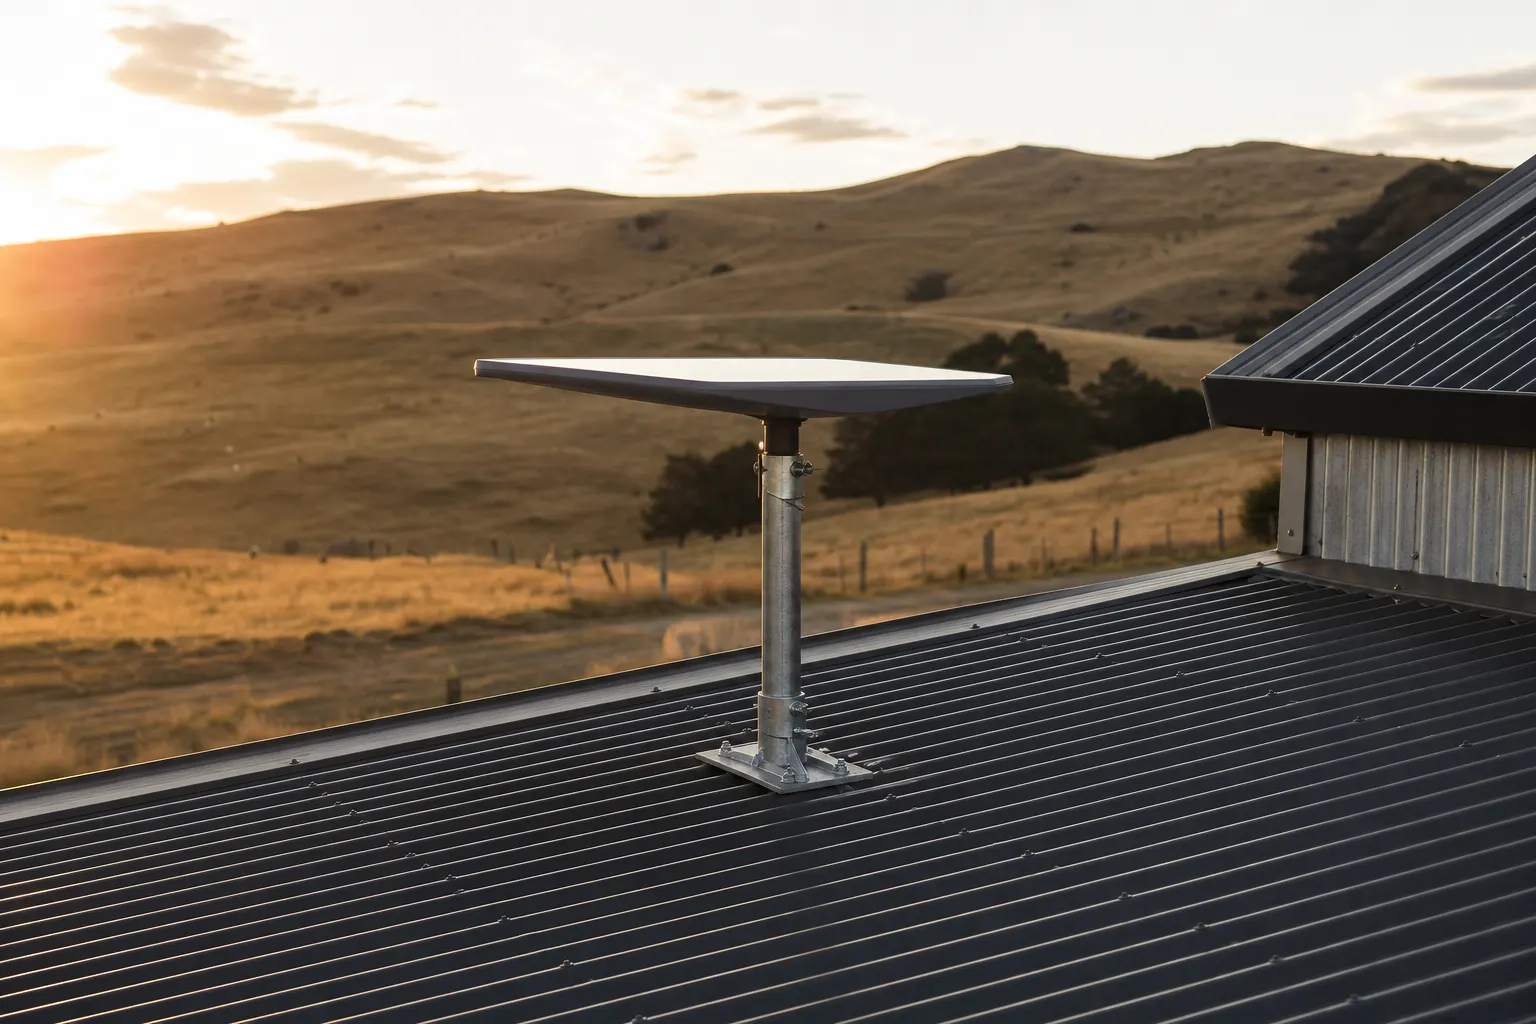
The kickstand in the Starlink box is not a permanent roof mount. Much of New Zealand is classified High wind zone or above under NZS 3604 (the national timber-framing standard), so a permanent install usually needs a properly fixed roof, pole or ridge mount matched to your site's exposure — and the mount choice is a site decision, not a regional one.
What is NZS 3604, and why does it decide your mount?
NZS 3604 is New Zealand’s timber-framed building standard, and it is the reason “wind zone” is a formal classification here, not a guess. It assigns building sites a zone from Low up to Extra High, and some sites fall outside the standard entirely and need specific engineering design. You can read about how zones work on the government’s building site, building.govt.nz, or in the standard itself, NZS 3604:2011 Timber-framed buildings.
The zone matters because wind applies load to everything in the chain: the dish, the bracket, the fasteners and the structure they bite into. A mount that is fine in a sheltered Low-zone suburb can be the wrong hardware entirely on an exposed High-zone ridgeline. The label alone is not a mounting design — but it tells you how seriously to take the question.
Exposure also changes over short distances. Terrain, height and shelter can move the picture within a single property, which is why our free Site Brief pulls a year of modelled wind history for your property’s coordinates (Open-Meteo reanalysis grid) rather than your region.
Is the kickstand in the box enough?
For a permanent New Zealand install, usually not — the supplied stand is designed to sit securely on the ground or a flat surface, and a loose stand is not a structural roof fixing. Starlink’s own hardware specifications describe the standard kit; nothing in the box is engineered for your particular roof in your particular wind zone.
The supplied stand is genuinely useful where it can be placed and secured in line with its instructions. The trouble starts when it is balanced on a roof and left to gravity. For a permanent position, use a mounting method suited to the hardware, the structure and the exposure — which is exactly the conversation to have with an installer before your kit arrives, as we explain in the checkout install option guide.
Which mount types are used in NZ, and when?
Three approaches cover almost every New Zealand install: a fixed roof mount, a pole mount, or a non-penetrating ridge system. Which one suits you is decided by the structure, the exposure, and the sky view.
| Mount | Best for | Watch for |
|---|---|---|
| Roof mount | Most houses with sound roofing and a clear sky view | Every penetration needs proper weather-sealing; fixings must reach structure, not just cladding |
| Pole mount (roof or ground) | Exposed sites, obstructed roofs, getting above tree lines | Pole, base, clamps and footing must all suit the loads; ground poles need a proper footing |
| Non-penetrating / ridge system | Roofs that should not be drilled | Only within the system’s own instructions and site limits |
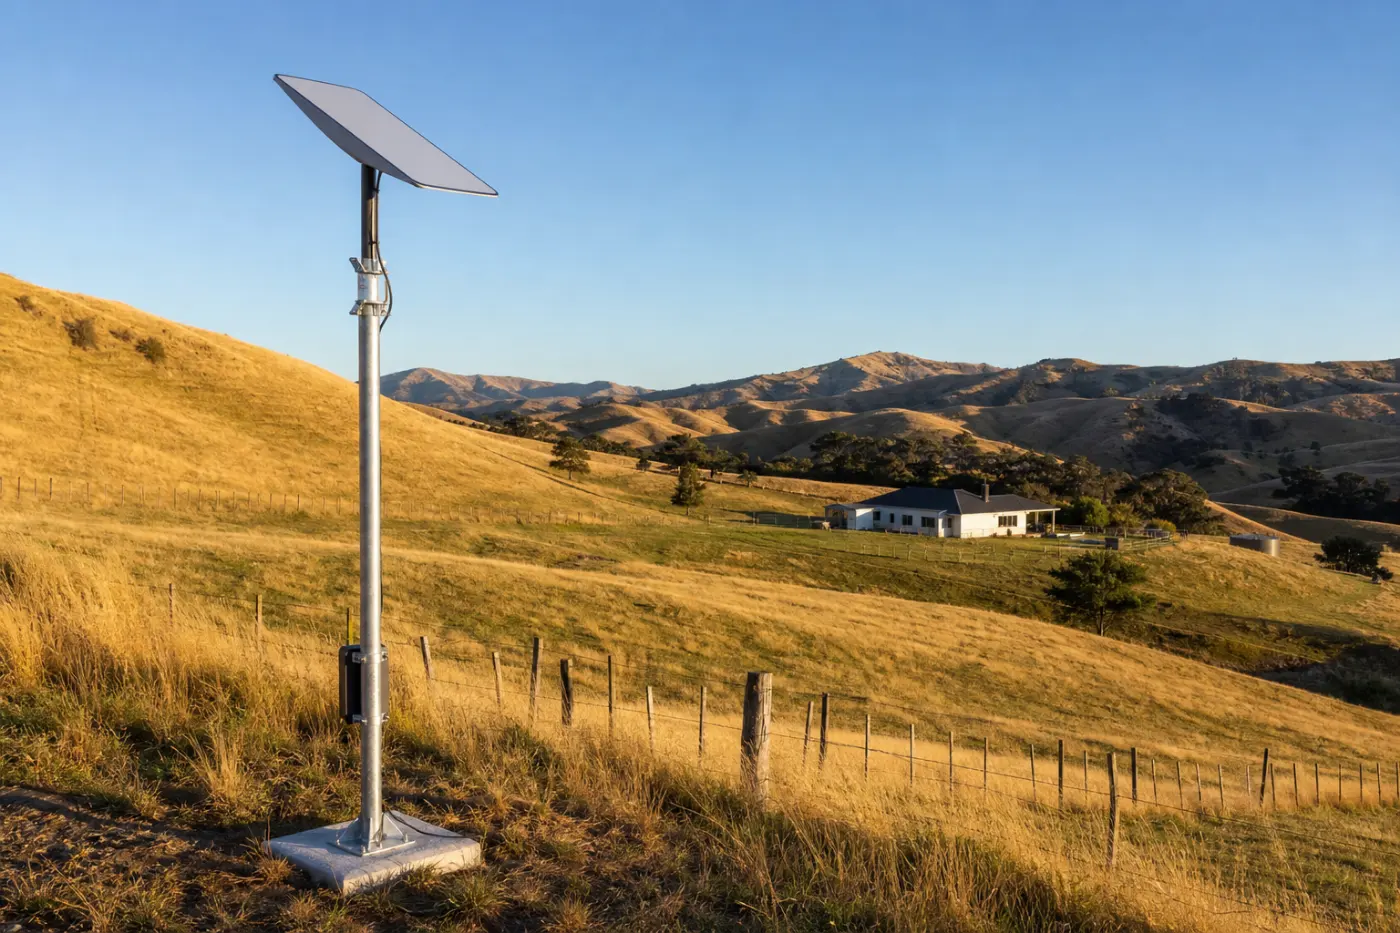
A ground pole deserves a special mention for rural properties: it can be placed for the best sky view (clear of the trees that cause obstruction dropouts), it keeps maintenance at ground level, and it moves the wind problem away from your roof entirely. The trade-off is trenching for the cable run.
Material choice and corrosion protection also depend on the site — coastal salt spray is hard on the wrong fasteners. Ask what the installer proposes and why.
What does a professional installer do differently?
The bracket is the cheapest part of the job — what you are paying for is the fixing path, the weatherproofing and the cable work. A professional should be able to explain where the loads are carried, how any penetration will be sealed for your roofing type, how the cable will be supported and entered through the wall, and how the whole job suits your structure.
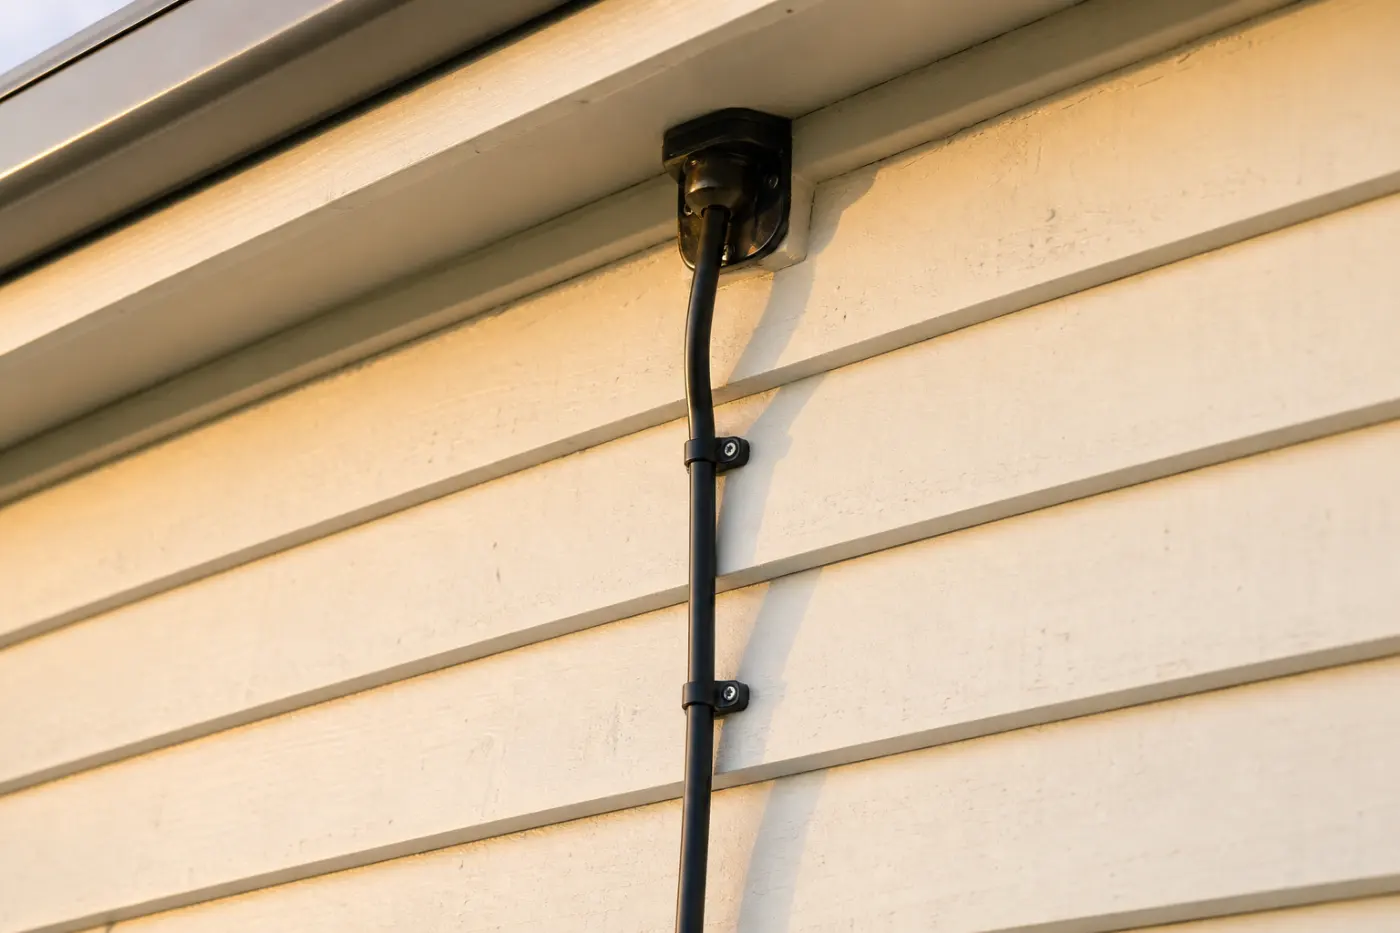
That cable detail is not cosmetic: a neat, clipped, properly glanded entry keeps water out of your wall cavity for the life of the install. It is also the visible difference between a professional job and a Saturday-afternoon one. A typical professional install runs $400 to $500 — the cost guide breaks down what moves the price.
How can you tell if your site is exposed?
If wind has ever damaged your roofing, spouting or fencing, treat your site as exposed until someone qualified says otherwise. A few honest questions tell you most of what you need to know before anyone comes out:
- Is the proposed dish position on the windward side of a hill, ridge, or open aspect with a clear run for the wind?
- Have you had storm damage to roofing, spouting or fences before?
- Is the site open to coastal winds or salt exposure?
- Does wind noticeably funnel through your section — between buildings, down a valley, off a hillside?
- Is the mounting point high or difficult to access safely?
These questions flag matters for an on-site check. They do not calculate a wind zone or replace a mounting design — and if several of them are a yes, say so in the property check notes so the installer prices the right hardware first time.
When is the supplied stand fine after all?
Where it can sit and be secured exactly as its instructions intend — sheltered positions, temporary setups, or testing sky view before committing to a permanent spot. For any permanent roof or elevated position, check the hardware instructions and get site-specific advice.
If you are not sure which category your site is in, or it ticks the exposed boxes above, it is worth getting an installer’s eyes on it before the wind makes the decision for you. Check my property and you will see the verified installers nearest you; where matching is live, we send your brief to a participating installer.
Quick answers
Is the standard Starlink mount actually bad?
No. It is useful where it can sit securely as intended. Do not assume it is a permanent roof fixing. The right permanent mount depends on the structure, exposure and the hardware instructions.
How do I know what wind zone my property is in?
Do not guess it from the region alone. Wind classification can vary within a property and includes site factors beyond the simplified NZS 3604 zones. Ask your council, designer or installer which information applies to the proposed mounting point.
Do I need a building consent to mount a Starlink dish?
It depends on the proposed work and the property. Check with the local council or a suitably qualified building professional before work if consent or structural requirements are unclear.
Can a professional installer fix a mount that failed?
An installer can inspect the dish, structure and fixings, then recommend a repair or replacement mount. Do not reuse damaged parts until they have been checked.
Want it done properly?
Get matched with a professional installer who covers your area.
Check my property